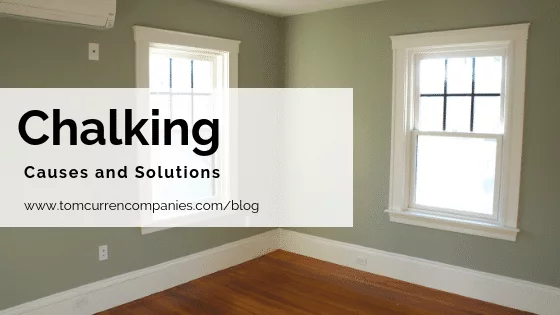
Excessive Paint Chalking On Interior Walls: Causes & Solutions
Excessive chalking is a common issue that looks precisely as you might imagine: a powdery, dust-like layer that lays over the surface of your paint. In fact, if you type “excessive paint chalking” into a Google Image search, you’ll find photo after photo of hands that seem to have wiped down a blackboard without an eraser.
What causes interior paint chalking?
Flat paints, white paints, and light-colored paints are at the greatest risk for excessive chalking. According to the U.S. Government’s Official Guidelines for Preserving Historic Homes, excessive chalking is generally attributable to either “the gradual disintegration of the resin in the paint film,” or to paint that “contains too much pigment for the amount of binder (as the old white lead carbonate/oil paints often did.)” Another common cause is overexposure to UV light—i.e. damage from the sun—which decays the bonds between the molecules in the paint film. There are, however, a few other possible diagnoses: over-thinned paint, old paint, low-quality paint, an unprimed surface, extended exposure to moisture, or bad initial prep, plain and simple.
Excessive chalking can quickly lead to streaking, lightening, and, eventually, the wholesale erosion of your coating’s film. In short, it’s something you’ll want to take care of to avoid further damage. But how to go about correcting it?
How to fix paint chalking on interior walls?
First off, you’ll want to buy a topcoat with strong UV resistance. While even the best paints may chalk a little, a quality finish will resist both cracking and the kind of excessive chalking that leads, over time, to more serious repairs. Before repainting, you should always make sure to prepare the surface properly. In this case, that means removing all chalk residues from the surface, and time to let the surface dry. Do a quick test with a finger to see if any powder still remains, and—if so—repeat the cleaning process. Then you’re ready to repaint over the dry, clean surface.
READ OUR
Related Articles
Locations

